Using Luminescence Masks


Greeting photo minions!
I mentioned in the weekly creative thread that I've been learning Luminescence Masking and AMac asked me if I could explain it a bit. Apparently is's a long arduous task to make your own masks, but there are a couple of websites that have built Photoshop extensions that will create them for you. I found a free download at www.throughstrangelenses.com. This article assumes you know the basics of using layers, selections, and blends.
So why do I care about luminescence masks? Well when I take photos I often take the same shot at different stops and I'll get areas on one shot that are too dark and areas that are too bright on another. I could use the software to combine the images into an High Dynamic Range (HDR) image. They software does all the work for me to create an HDR image, but I can also use luminescence masks with greater control and flexibility.
So with a couple of images loaded and aligned. I'll make sure the darker layer is on top. I'll create the luminescence masks. These are loaded into the channels tab. I'll add the layer mask to the top layer and then choose a mask that looks good. The mask selects the portions of the layer I want, and don't want, to use to effect the background (or lighter layer in this case). I can do this a couple of times with a bright, midtone or dark masks to create contrast. Then I'll select a luminescence blend.
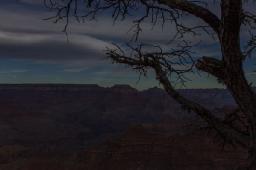
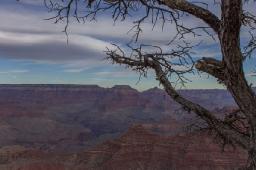
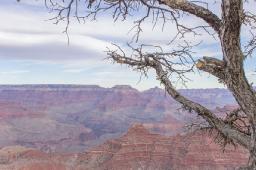
In the example first example of the Grand Canyon I used 3 photos with a couple of masks on the middle and top layer - blending them both with the luminescence blend. Then I also applied a curves level with the same blend. I upped the vibrancy slightly and added multiple color saturation levels all set to a saturation blend.
Dark
Mid
Bright
Finished 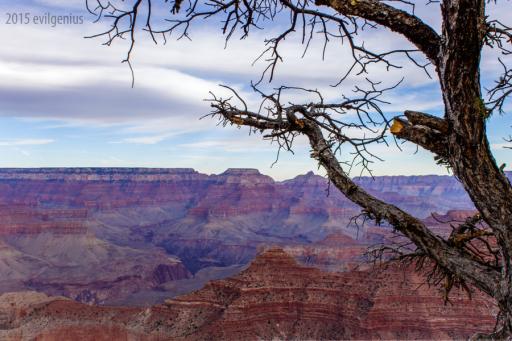
In this example not only did use similar techniques I used above I also applied color toning using color lookup layer with a color blend.
Dark
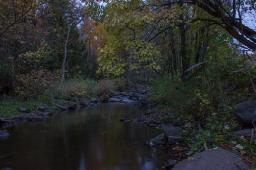
Mid
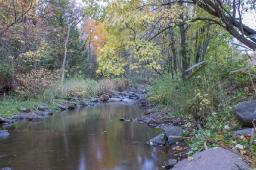
Bright

Finished

So basically I'm applying layer masks to add contrast to light, mid and dark areas of multiple exposures to add contrast correcting too dark and too light areas of the image. I'm and I'm also adding vibrancy and saturation to improve color.
Who is online
78 visitors