

It has been a while since I posted about this build. Frankly, after building the custom fairwater to model the USS Lapon, the rest of the build is rather vanilla. The only variations are the PE additions.
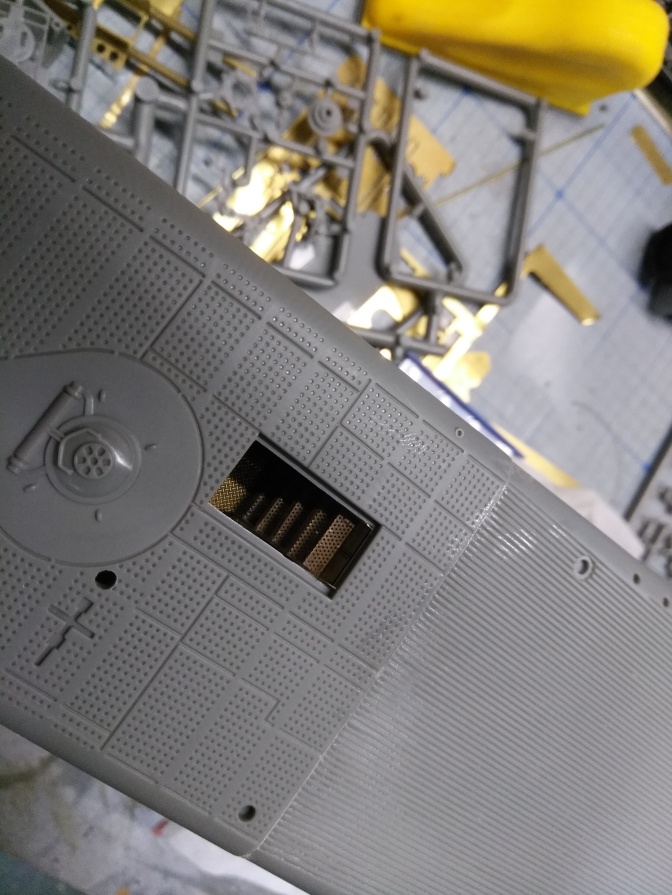
And that’s what I started with. I used the Eduard PE set to replace the kit’s bow free flood baffles.


This assembly is installed within the bow section. I painted the inside black, as it will not be possible to do so once assembled.


After this, I got started on the aft section.
One major modification to the fleet boats early in the war was the removal of the propeller guards. Many modelers believe this was an effort to reduce noise. But a quick look at the many topside fixtures render this theory moot. Deck guns, railing, sail equipment all lend to noise and cavitation submerged. The simple fact is, the speed of a fleet sub submerged wasn’t fast enough to make sound silencing topside a huge issue.
The real reason for the removal was a lesson learned in combat. In 1942 the USS Thresher was attacked and hooked by the Japanese with a large grappling hook on her prop guards. With some radical maneuvers, she was able to shake free. Following this incident, the Navy authorized the removal of the prop guards, and temporary guards were installed as ships were entering port.
All the photographic evidence I have of the Lapon show this modification, so I did the same. I started by sanding down the mounts on the aft sections.
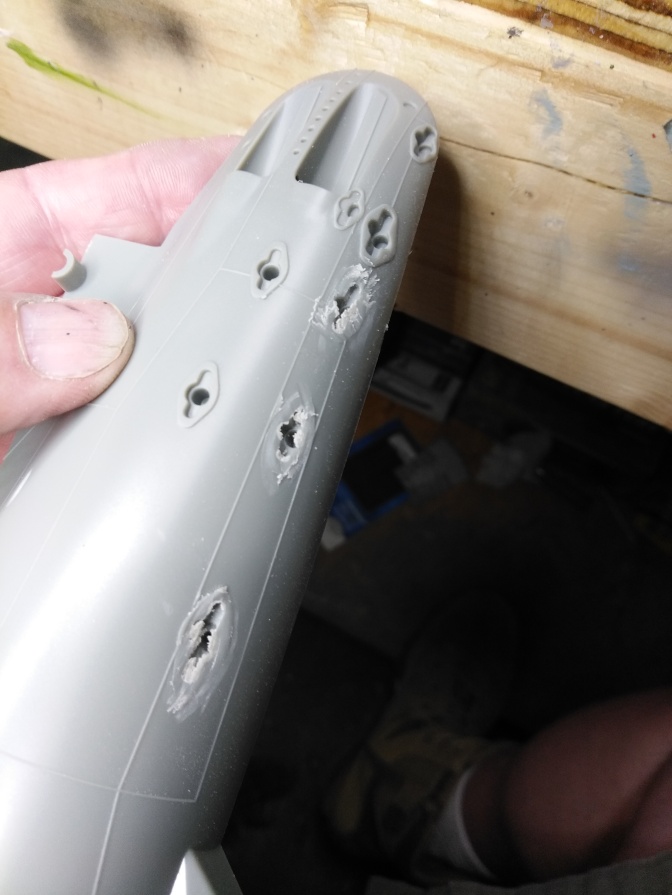
This was followed by some putty to fill the holes.


Since the sanding removed some of the hull lines, I simulated them with thin accent tape. I then primed the pieces before assembly.
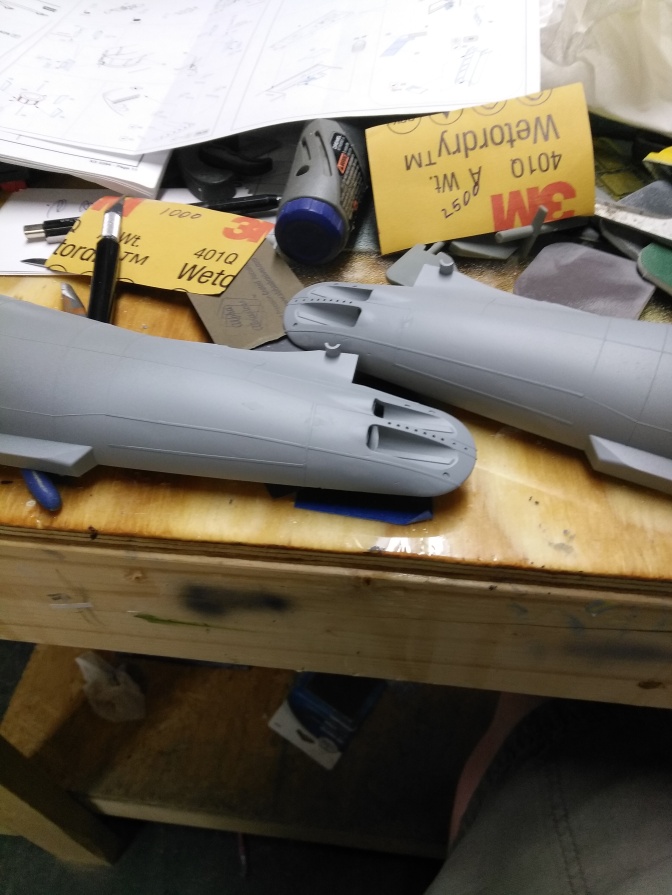
After that, the sides were assembled, and the topside deck was glued in place.


Another PE assembly installed at this point was the bow escape hatch ladder and decking.
With the hull built, the next step will be installing the side plates and topside PE decking.
I’ll save that for the next blog entry. Stay tuned.